A gorgeous pair of clay earrings often begins with a humble-looking block of polymer clay. Before that clay can become a cheerful arch, a tiny floral stud, or a bold statement dangle, it needs a little care. Polymer clay conditioning is the simple but essential process of softening and working clay until it is smooth, flexible, and ready to shape.
It can feel like an extra step when inspiration is calling, especially when you cannot wait to see your color palette come together. But conditioned clay is easier to roll, cut, texture, and bake. It also helps your finished jewelry look polished and feel more durable – exactly what handmade pieces deserve.
What Polymer Clay Conditioning Does
Fresh polymer clay contains a blend of PVC particles, plasticizers, pigments, and fillers. When it sits in its package, particularly in a cool room or for a longer period, those ingredients can feel firm and slightly separated. Conditioning brings them back together through warmth and movement.
Well-conditioned clay bends without cracking, rolls into an even sheet, and feels supple rather than sticky. It should not crumble at the edges when you fold it or break apart when you gently curve it. This even consistency matters for jewelry because thin earring components show every little flaw. A smooth surface gives you cleaner cuts, sharper details, and a more professional finish after baking.
There is a balance, though. Clay that is too stiff can crack. Clay that is overworked or naturally very soft can become sticky, difficult to cut, and more likely to lose its crisp shape. The goal is workable clay, not clay that feels melted.
How to Condition Polymer Clay by Hand
Hand conditioning is wonderfully simple and requires no special tools. Start by cutting or breaking your clay into small pieces. Thin slices warm faster than one large block, so this small step can save your hands a lot of effort.
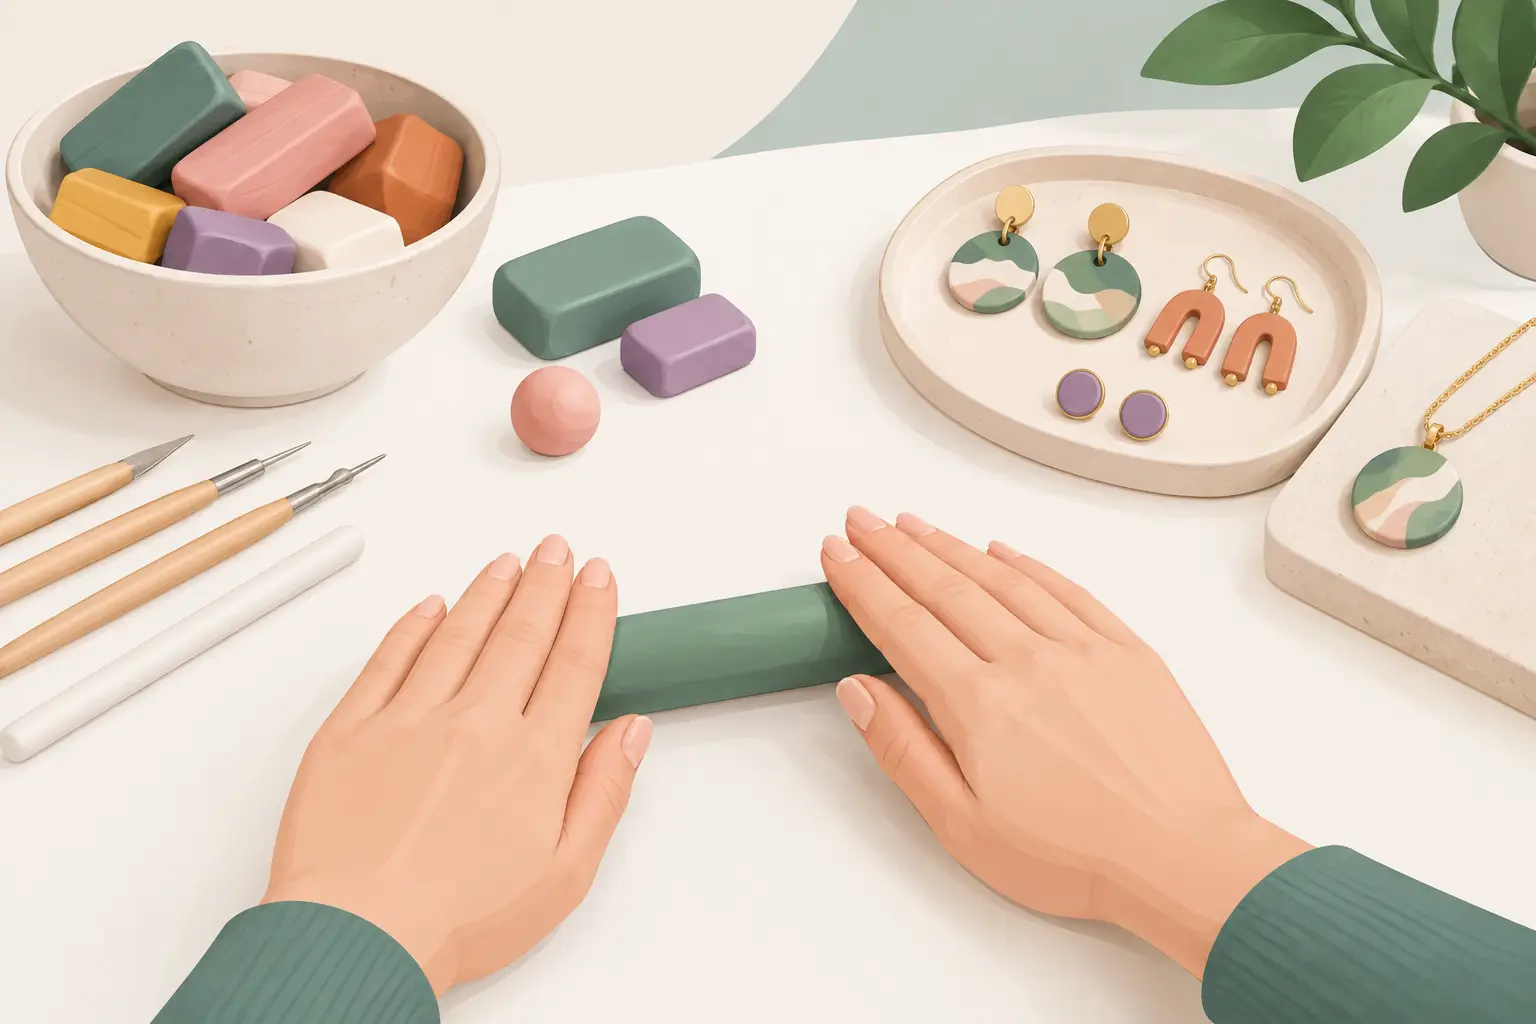
Warm a piece between your palms for a minute, then press, fold, and squeeze it. Continue working through the clay until it begins to bend more easily. Once several pieces are soft enough to combine, press them together and knead them into one mass. Folding the clay in half, pressing it flat, and repeating the motion will gradually create a uniform texture.
If the clay is particularly firm, place it in a zip-top bag and warm it in a pocket for a few minutes before you begin. Your natural body heat is gentle enough to help without accidentally baking or damaging the material. Avoid heating clay in a microwave. Polymer clay can scorch, release unpleasant fumes, or become unusable when overheated.
Hand conditioning is ideal for a small project, a single accent color, or the quiet creative ritual of making jewelry at your own pace. It does take more time with large batches, but it gives you a close feel for the material. You will quickly notice when a clay brand, color, or older package needs a little extra patience.
Polymer Clay Conditioning With a Pasta Machine
For earring makers who use clay often, a dedicated pasta machine is one of the most helpful tools on the worktable. It speeds up polymer clay conditioning and creates consistently smooth sheets for cutters, texture plates, and layered designs.
Begin with softened clay cut into manageable pieces. Set the machine to its widest setting and feed the clay through. Fold the sheet in half, keeping the fold at the bottom as it enters the rollers so trapped air is less likely to form bubbles. Run it through again, then repeat until the sheet is smooth, flexible, and free of cracks or crumbly edges.
Most clay needs several passes, but there is no magic number. Some fresh, soft clay may be ready quickly, while a firm block may need many more folds and passes. Watch the clay rather than the clock. When it comes through as one even sheet with a satin-like surface, it is ready for creating.
Keep your clay machine for polymer clay only. Even after careful cleaning, it should not return to food use. Wipe the rollers and work surface between colors to prevent unwanted streaks, especially when moving from a deep color to a pale one.
When a Pasta Machine Is Not Enough
Very hard clay may resist the rollers at first. Forcing a stiff chunk through can strain the machine and produce torn sheets. Soften it by hand first, or use a clay-dedicated food processor to break down larger amounts before finishing with the pasta machine.
A food processor works best for plain clay that will be blended into a solid color or mixed with other clay. Pulse small pieces until they resemble coarse crumbs, then gather and knead them together. Because the friction can warm clay quickly, use short pulses and check the texture often.
Fixing Common Conditioning Problems
Sometimes clay does not cooperate right away, and that is part of the handmade process. A few adjustments can turn a frustrating block into a beautiful jewelry-ready sheet.
If the Clay Is Crumbly or Cracking
Crumbly clay usually needs more conditioning, warmth, or a small amount of softener. Continue working it in small pieces rather than trying to tame the entire block at once. If it still breaks apart, add a tiny amount of polymer clay softener or a small piece of softer translucent clay, then knead thoroughly.
Go slowly with additives. Too much softener can turn a firm clay into a sticky one, and it is much easier to add a little more than to correct overly soft clay. If you are mixing colors, a compatible softer clay in a similar shade can be a practical solution as well.
If the Clay Is Sticky
Sticky clay can pick up lint, fingerprints, and dust, which is especially frustrating on light-colored earrings. Let it rest on a clean sheet of copy paper for a short time. The paper can absorb some excess plasticizer without drying the clay out completely.
You can also work on a cool, clean surface and use gentle, deliberate passes through the pasta machine. Rubbing alcohol on a lint-free cloth can clean your tools and tile surface, but let everything dry before the clay touches it. Avoid adding cornstarch or flour directly to polymer clay. They may seem helpful in the moment, but they can leave texture behind and affect the finish.
If You See Air Bubbles
Air bubbles often appear when clay is folded carelessly or when air gets trapped between layers. Fold your sheet with the crease entering the pasta machine first, and press layers together before rolling. If a bubble appears, pierce it with a fine needle, gently press out the air, and roll the sheet again.
For simple earrings, a tiny bubble may be easy to hide with a texture or cut away with the edge of a shape. For smooth, minimalist pieces, taking the time to reroll the sheet is worth it.
Color Blending Starts With Conditioned Clay
One of the sweetest parts of working with polymer clay is building custom color stories. Think warm terracotta with blush pink, ocean blue with creamy white, or a playful blend that matches a favorite outfit. Clean, conditioned clay makes those combinations far more successful.
Before blending two colors, condition each one separately. Once both are equally soft, layer them together and run them through the pasta machine. Fold and repeat until the colors become fully blended, or stop earlier for a marbled look. If one color is much firmer than the other, the blend can develop cracks or uneven streaks, so giving each color equal attention first makes a visible difference.
This is also a lovely place to embrace imperfect beauty. A subtle swirl in a pair of handmade earrings is not a mistake. It is a small signature of the maker’s hands and the creative process.
A Few Habits That Protect Your Finished Jewelry
Condition clay on a smooth, clean surface such as ceramic tile, glass, or a dedicated acrylic mat. Keep your hands, blades, rollers, and cutters clean as you work. Pale clay and bright white clay reveal stray fibers quickly, but every color benefits from a tidy workspace.
Try not to condition more clay than you need for a project. Leftover clay can be wrapped tightly and saved, but repeated mixing may muddy colors over time. Store unused clay away from heat and direct sunlight, ideally in its original wrapper or another compatible plastic container. Some plastics can react with polymer clay, so when in doubt, use the packaging it came in.
And remember that conditioning is not a test you either pass or fail. Different brands, colors, room temperatures, and project styles all ask for slightly different handling. The more you work with clay, the more naturally you will recognize the moment it becomes soft, smooth, and full of possibility.
The next time you sit down to make a pair of earrings, give the clay those few patient minutes first. That gentle preparation can carry your idea from a colorful block on the table to a handmade piece someone will be excited to wear, gift, and remember.