
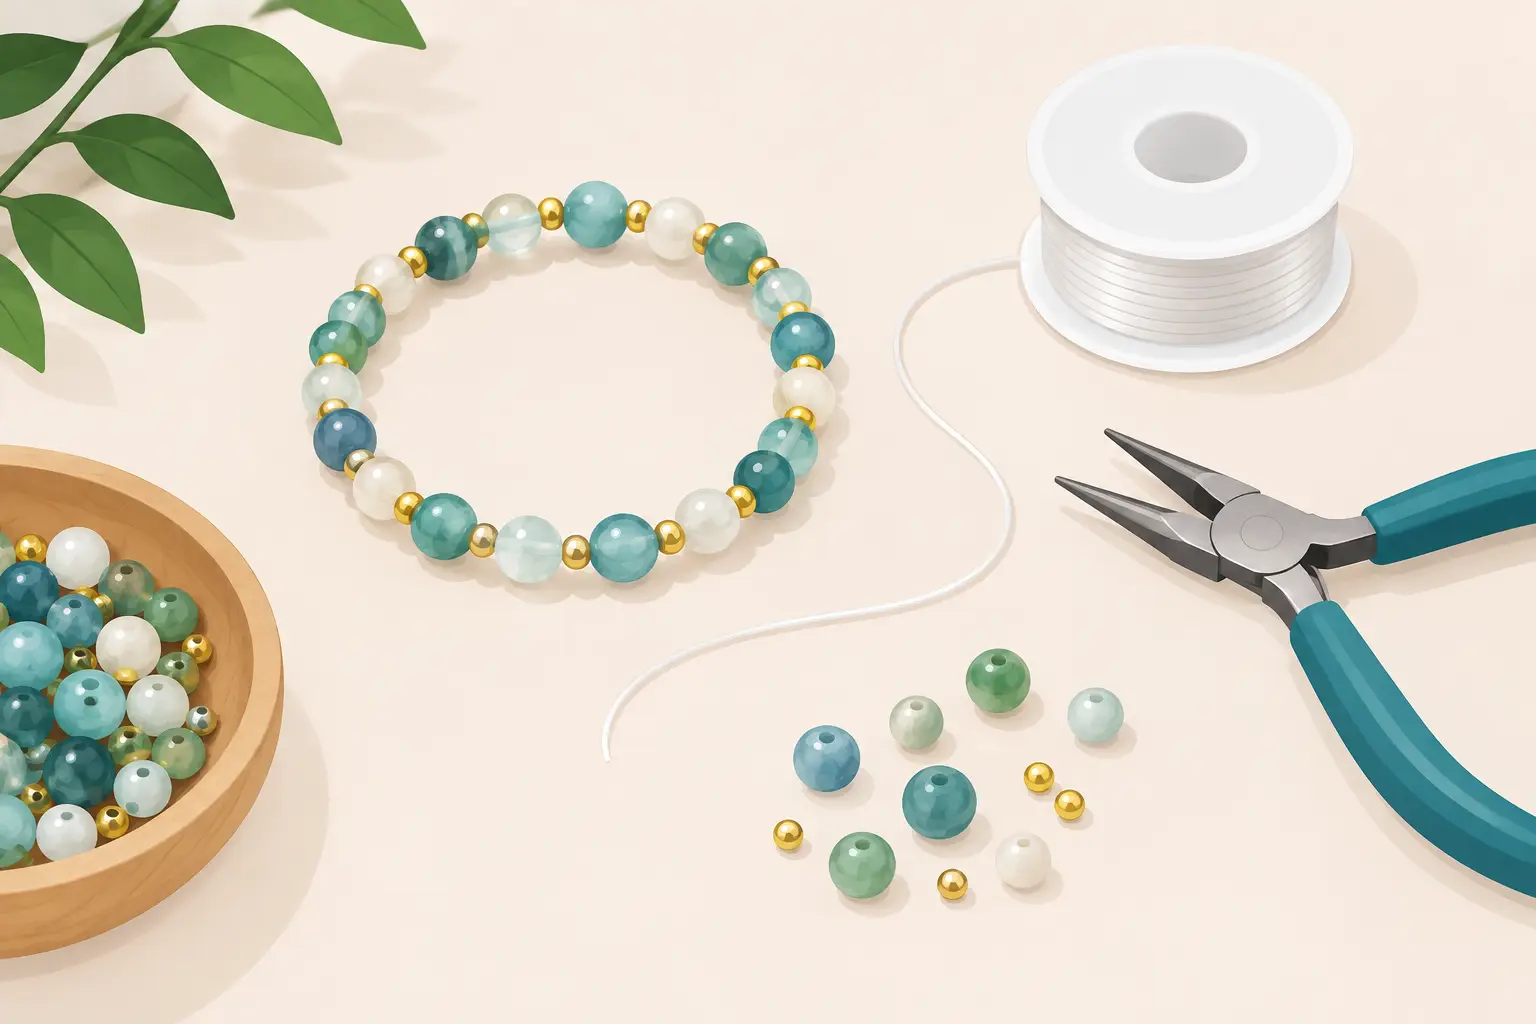
That little gap between beads is usually the first warning sign. If an elastic bracelet is starting to stretch, fray, or feel loose around your wrist, it does not have to mean goodbye. This bracelet restringing tutorial will help you give a favorite handmade piece a fresh start while keeping its original color, character, and sentimental charm intact.
Restringing is a wonderfully practical jewelry skill, especially for bracelets made with gemstone beads, glass beads, clay beads, or lightweight acrylics. It is also a quiet way to reconnect with a piece you love. A bracelet may be a souvenir, a gift, or simply the colorful accessory that makes an ordinary outfit feel more like you.
Before You Restring: Look Closely at the Bracelet
Not every worn bracelet needs the same repair. Stretch bracelets made on clear elastic cord are the simplest candidates for home restringing. If the cord is visibly thinning, losing its bounce, or showing pale stress marks near the knots, replace it before it breaks and sends beads rolling under the furniture.
First, study how the bracelet was designed. Take a few well-lit photos from every angle, including any focal bead, spacer pattern, charm, tassel, or bead cap. If the bead order matters, lay the bracelet in a shallow tray or on a bead mat before cutting anything. A soft towel works in a pinch, but beads can nestle into the fabric and become hard to spot.
Check the beads themselves, too. Sharp-edged metal beads, rough stone drill holes, and cracked glass can quickly wear through elastic. You can still restring the bracelet, but it may need a different cord or small protective spacer beads at the trouble spots. Handmade jewelry is full of lovely details, and sometimes those details ask for a little extra care.
Choose the Right Cord for Your Beads
Cord choice is where a bracelet repair can either last beautifully or become another quick fix. The best option depends on the bead hole size, bead weight, and the way you want the finished bracelet to wear.
For most standard 6 mm to 10 mm beaded stretch bracelets, a quality stretch cord in the .7 mm to 1 mm range is a reliable starting point. Thinner cord fits smaller holes but may not hold up as well with heavy stone beads. Thicker cord is more durable, yet it may not pass through every bead. Test a short piece before committing to the whole project.
Clear elastic gives a nearly invisible look, while colored stretch cord can become part of the design. Black cord looks lovely behind darker stones or boho-style beads, and a coordinating color can add a playful handmade touch to translucent beads. If you are restoring a bracelet with a more polished finish, choose a cord color that disappears into the beadwork.
Do not use ordinary sewing thread for a stretch bracelet. It is not designed to expand and recover with regular wear. Likewise, beading wire is excellent for clasped bracelets but not for a bracelet intended to stretch over the hand. Beading wire needs crimp beads and a clasp, so it changes the construction entirely.
Tools That Make Restringing Easier
You only need a small setup for this project: the new cord, scissors or flush cutters, a bead mat or tray, clear jewelry adhesive, and a needle if your bead holes are narrow. A bead reamer can be useful when a hole has a little debris inside it, but use it gently. Forcing a bead can cause a crack, especially with glass, ceramic, or delicate polymer clay.
A small piece of painter’s tape is helpful, too. Tape one end of the cord to your work surface or fold a tiny tape flag around it so beads cannot slide off while you work. It is a simple trick that saves a surprising amount of frustration.
Bracelet Restringing Tutorial: Step by Step
1. Measure and pre-stretch the cord
Cut a length of elastic around 10 to 12 inches longer than the bracelet you are repairing. The extra length gives you room to work and tie a secure knot. Before adding beads, gently stretch the cord several times. This is especially important with elastic because it reduces the chance of the bracelet becoming loose after only a few wears.
Stretch with steady, moderate pressure rather than pulling hard. You want to condition the cord, not test its breaking point.
2. Remove the old cord without losing the pattern
Cut the old cord over your tray or bead mat. If the original pattern is simple, slide the beads off one at a time and line them up in order. If it has a centerpiece, alternating colors, or carefully placed spacers, transfer each bead directly from the old cord to the new one whenever possible.
This is also your chance to edit the design. You might remove a damaged bead, add a pair of spacers for balance, or turn a bracelet that felt too tight into one with a little more breathing room. Keep the changes intentional. A single contrasting bead can look artistic; an accidental mismatch can make a thoughtful design feel unfinished.
3. String the beads and test the fit
Thread the beads onto the new elastic in the same order. Keep the cord under light tension so the beads sit neatly together, but do not pull so tightly that you cannot check the arrangement.
Before tying, wrap the strung bracelet around your wrist. A comfortable stretch bracelet should sit close enough that it does not spin wildly, while still stretching easily over the widest part of your hand. Fit is personal. Some people love a snug stackable look, while others prefer a relaxed bracelet that drapes a little lower on the wrist.
If the bracelet feels too small, add a few coordinating spacer beads rather than one large random bead. If it feels too large, remove beads in a balanced way from both sides of a focal bead.
4. Tie a knot that stays put
Bring the two elastic ends together and tie a surgeon’s knot. Start as if you are tying a regular overhand knot, but pass one end through the loop twice before tightening. Then tie one or two additional overhand knots on top, pulling each knot firmly and evenly.
The goal is a compact, secure knot, not a giant lump of elastic. Hold the beads close as you tighten, but leave just enough give that the bracelet can stretch naturally. If you pull the cord too tight, the bracelet may feel stiff or put unnecessary pressure on the beads.
Add a tiny dot of clear jewelry adhesive to the knot if desired. Use very little. Too much glue can spread onto nearby beads, dry cloudy, or make the knot bulky. Let it dry fully according to the adhesive instructions before trimming the ends.
5. Hide the knot and finish with care
Trim the cord tails close to the knot, leaving just enough length that the knot stays secure. Gently pull the knot into a larger-hole bead, ideally one near the center or a bead that naturally disguises it. A metal accent bead can work well, but make sure its edges are smooth.
If the knot will not slide inside a bead, do not force it. Choose a slightly larger-hole bead, add a decorative knot cover if the design allows, or leave the knot positioned on the underside of the bracelet. A visible knot is better than a stressed cord that may snap.
Common Restringing Problems and Simple Fixes
If beads keep slipping off the loose end, stop and add a tape flag. If the elastic frays while passing through a bead, that hole may be rough. Try a slightly smaller cord, smooth the hole carefully with a bead reamer, or place that bead where it will not take as much tension.
A bracelet that looks great but feels too loose often needs fewer beads, not a tighter knot. Tying elastic under extreme tension can make it less durable over time. On the other hand, a bracelet that is difficult to put on may need one or two extra small spacers, particularly if it uses chunky gemstone beads.
When a bracelet has multiple strands, intricate wirework, a glued centerpiece, or unusually valuable beads, professional repair may be the wiser choice. There is no shame in protecting a special piece. Knowing when to pause is part of good craftsmanship.
Help Your Refreshed Bracelet Last Longer
Give the new cord a full day to settle after gluing before wearing the bracelet. After that, roll a stretch bracelet gently over your hand rather than yanking it wide apart. Take it off before swimming, showering, cleaning, or applying lotion and perfume. Moisture and product residue can dull beads and weaken elastic over time.
Store bracelets flat or loosely coiled rather than hanging them from a hook. This prevents unnecessary stretching and keeps delicate accents from catching. Every few months, give your bracelet a quick inspection for loose beads, worn cord, or sharp components.
A freshly restrung bracelet is more than a repair. It is a small act of care for the colors, memories, and handmade details that make jewelry personal. Let it be a reminder that the pieces you reach for most often are worth tending to, and that your own creative hands can keep their story going.


