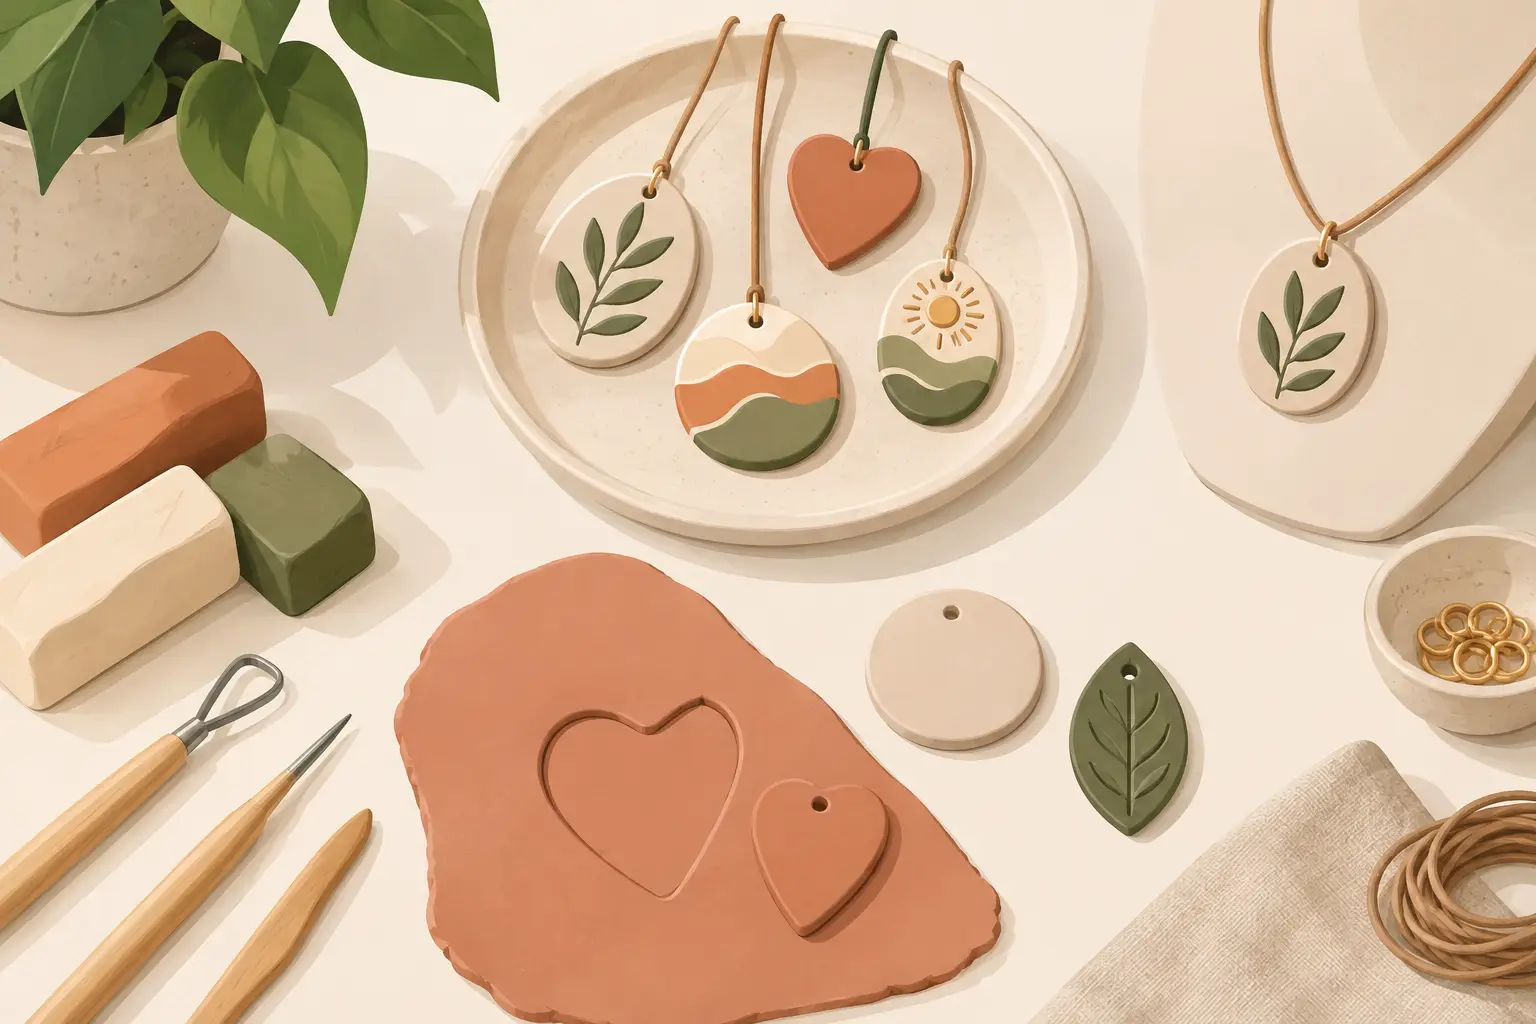
A pendant can hold a tiny piece of your personality: a favorite color, a meaningful initial, a sunny pattern, or a shape that simply makes you smile. Learning how to make clay pendants is less about getting every edge perfect and more about creating wearable art that feels like you. With a few simple supplies and a little patience, you can turn a small piece of clay into a necklace that is playful, polished, and completely personal.
Start With Clay That Fits Your Design
For beginner-friendly jewelry, polymer clay is usually the best place to start. It is soft enough to shape by hand, comes in a joyful range of colors, and hardens in a home oven according to the package directions. Unlike air-dry clay, polymer clay creates a more durable result for everyday accessories when it is cured properly.
Choose a small palette rather than opening every color at once. Two or three colors can create a pendant that feels intentional, especially if you pair a bold shade with a neutral like cream, black, white, or warm terracotta. You can also blend colors together for a marbled look. The slight variations in handmade marbling are part of the charm, so do not chase identical swirls.
If you want an earthy, ceramic-inspired finish, look for polymer clay with a stone or speckled appearance. For a brighter boho style, use cheerful colors, tiny floral details, or abstract color blocking. Your material should support the mood you want the necklace to carry.
Gather a Small, Useful Work Setup
You do not need a studio full of tools to make beautiful pendants. A smooth work surface, a dedicated clay blade or craft knife, an acrylic roller or clay roller, and a few cutters will take you far. A ceramic tile or piece of parchment paper is helpful because you can shape the pendant directly on it, then move it carefully to a baking tray.
You will also need a way to turn your clay shape into jewelry. A needle tool, toothpick, or small straw can make a hole before baking. After curing, you may add a jump ring, necklace chain, cord, or waxed cotton string. If your pendant is large or heavy, choose a sturdier chain and a larger jump ring so the finished piece hangs comfortably.
Keep a few soft cloths nearby, too. Lint, fingerprints, and tiny bits of dust are more noticeable on light or dark clay than many makers expect. Wipe your surface and hands between colors, especially when working with white or pale pink clay.
How to Make Clay Pendants Step by Step
Condition and roll the clay
Start by warming the clay in your hands and kneading it until it feels smooth and flexible. This process, called conditioning, helps the clay bake more evenly and reduces the chance of cracks. If the clay is stiff, work with a smaller piece at a time rather than forcing it.
Roll the clay to an even thickness, usually around one-eighth to one-quarter inch for a pendant. Thinner pieces can look delicate and modern, but they may bend more easily. Thicker pendants feel substantial and are wonderful for statement necklaces, though they need slightly more care when baking. Consistent thickness matters more than choosing one exact measurement.
Cut or shape your design
Cookie cutters make clean circles, arches, hearts, stars, and flowers. For a more organic handmade look, cut a freeform shape with a blade, then gently soften sharp corners with your fingertips. A simple oval, pebble, or uneven arch can become a beautiful focal point once it is paired with the right colors and hardware.
This is where a plain shape can become your signature. Press in a small stamped pattern, add a raised clay flower, layer a contrasting color on top, or create a terrazzo effect with tiny clay scraps. Keep dimensional details low and securely pressed into the base piece. Thick decorations can separate or snag during wear if they are only resting on the surface.
Add the hole with care
Place the hole about one-quarter inch from the top edge of the pendant. If it sits too close to the edge, the clay can weaken around the opening. Twist the needle tool gently as you push through so the hole is clean. For a thicker pendant, make the hole slightly larger than you think you need because clay may shift a little during baking.
Before curing, hold the pendant up and imagine the necklace going through it. Does it hang in the direction you want? Is the hole centered, or intentionally off-center? This small check prevents a finished piece from flipping awkwardly once it is strung.
Bake according to the package instructions
Every polymer clay brand has its own recommended temperature and baking time, so follow the package rather than relying on a one-size-fits-all rule. Place your pendants on parchment paper or a tile on a baking tray. An oven thermometer is worthwhile if you plan to make jewelry often, since many home ovens run a little warmer or cooler than the dial suggests.
Underbaked clay is more likely to break, while overheated clay can darken or develop an unpleasant smell. If you are making several different shapes, bake pieces that are similar in thickness together when possible. Let them cool fully before testing their strength or adding findings.
Refine the Pendant After Baking
Once cool, inspect the edges. If they feel a little rough, lightly sand them with fine-grit wet/dry sandpaper. Use water while sanding to keep dust down and help create a smoother finish. This step is optional for a rustic design, but it makes a noticeable difference on clean, minimal shapes.
You can leave the clay matte, which often gives it a soft handcrafted feel, or add a clay-safe gloss finish for shine. Matte pendants pair beautifully with brass-toned hardware and natural cord. Glossy pendants tend to make bright colors and graphic patterns pop. Neither finish is better – it depends on whether you want your necklace to feel earthy, playful, sleek, or bold.
To assemble the necklace, open a jump ring by twisting the ends sideways rather than pulling them apart. Slide it through the pendant hole, add your chain or cord if needed, then twist it closed. This helps the ring keep its round shape and makes the connection more secure.
Design Ideas That Feel Gift-Worthy
A clay pendant does not need an intricate illustration to feel special. Often, one thoughtful detail gives it heart. Try a small initial pendant for a friend, a birth-flower-inspired color palette for a birthday, or a marbled oval in colors that remind you of a favorite season.
For an easy coordinated look, make two or three pendants from the same clay slab. You might create a necklace pendant, matching earrings, and a tiny charm for a bracelet. The shapes do not have to match exactly. Shared colors or a repeated pattern are enough to make handmade pieces feel beautifully connected.
If you are making pendants to give away or sell, test the design as jewelry first. Wear it around the house, check whether the pendant lies flat, and make sure the edges feel comfortable against skin and clothing. A lovely design should also be easy to wear.
Common Clay Pendant Problems and Simple Fixes
Fingerprints are one of the most common frustrations, especially on smooth, solid-color designs. Try smoothing the surface gently with a fingertip, a soft brush, or a small piece of parchment before baking. For persistent marks, turn them into texture by adding a deliberate stamped pattern.
If the pendant cracks after baking, it may have been too thin, insufficiently conditioned, or baked at an inaccurate temperature. Save the piece if you can. Small cracks are sometimes hidden beneath a clay embellishment or turned into a layered design. Handmade work teaches you what to adjust on the next piece, and those lessons are part of building your creative confidence.
A pendant that feels too plain can be transformed with a different necklace material. Black cord adds casual boho character, a gold-toned chain feels more dressed up, and a colorful beaded strand can make a simple clay shape feel festive. The clay is the focal point, but the finishing choices help tell the whole story.
Make a few pendants without deciding immediately which one is “the best.” Lay them out, notice the colors and shapes that keep catching your eye, and let your own style lead the next batch. The most memorable handmade jewelry is rarely the most perfect piece – it is the one that feels like it was made with joy.