A beautiful pair of handmade earrings can start as a tiny block of clay on your kitchen table. That is part of the magic of learning how to make polymer clay jewelry – it feels approachable on day one, but it still leaves plenty of room for your own style to grow.
If you have ever admired colorful statement earrings, soft boho shapes, or playful handmade charms and wondered if you could make them yourself, the answer is yes. Polymer clay is one of the friendliest materials for beginner jewelry makers because it is affordable, easy to shape, and full of creative possibilities. At the same time, there are a few techniques that make the difference between a piece that looks homemade in the best way and one that cracks, burns, or feels unfinished.
What you need to start making polymer clay jewelry
You do not need a studio full of fancy supplies to begin. A few basics will carry you a long way, especially if your first goal is to make earrings, pendants, or simple charms.
Start with polymer clay in a few colors you love. Add a smooth work surface, an acrylic roller or small rolling pin, a sharp craft blade, and cutters if you want clean shapes like circles, arches, or hearts. You will also want a baking sheet or tile, parchment paper, sandpaper for finishing, and jewelry findings such as earring posts, jump rings, necklace cords, or hooks.
If you plan to make earrings, a small hand drill or needle tool helps create holes before baking. Pliers are useful for assembling finished pieces. Resin or a clay-safe gloss can be nice for certain styles, but it is optional. Matte finishes are just as beautiful, especially for earthy or modern designs.
The biggest beginner mistake is buying too much before making your first pair. Start small. A limited color palette and a few reliable tools often lead to more cohesive designs anyway.
How to make polymer clay jewelry step by step
The basic process is simple, but each stage matters. Polymer clay rewards patience more than speed.
Condition the clay first
Before shaping anything, soften and condition the clay by kneading it with your hands or rolling it repeatedly. This step improves flexibility and helps prevent cracks. If the clay feels stiff, warming it slightly in your hands usually helps. If it feels too soft, let it rest for a few minutes.
Conditioning is not glamorous, but skipping it often leads to brittle pieces. Think of it as preparing your material so your design has a real chance to last.
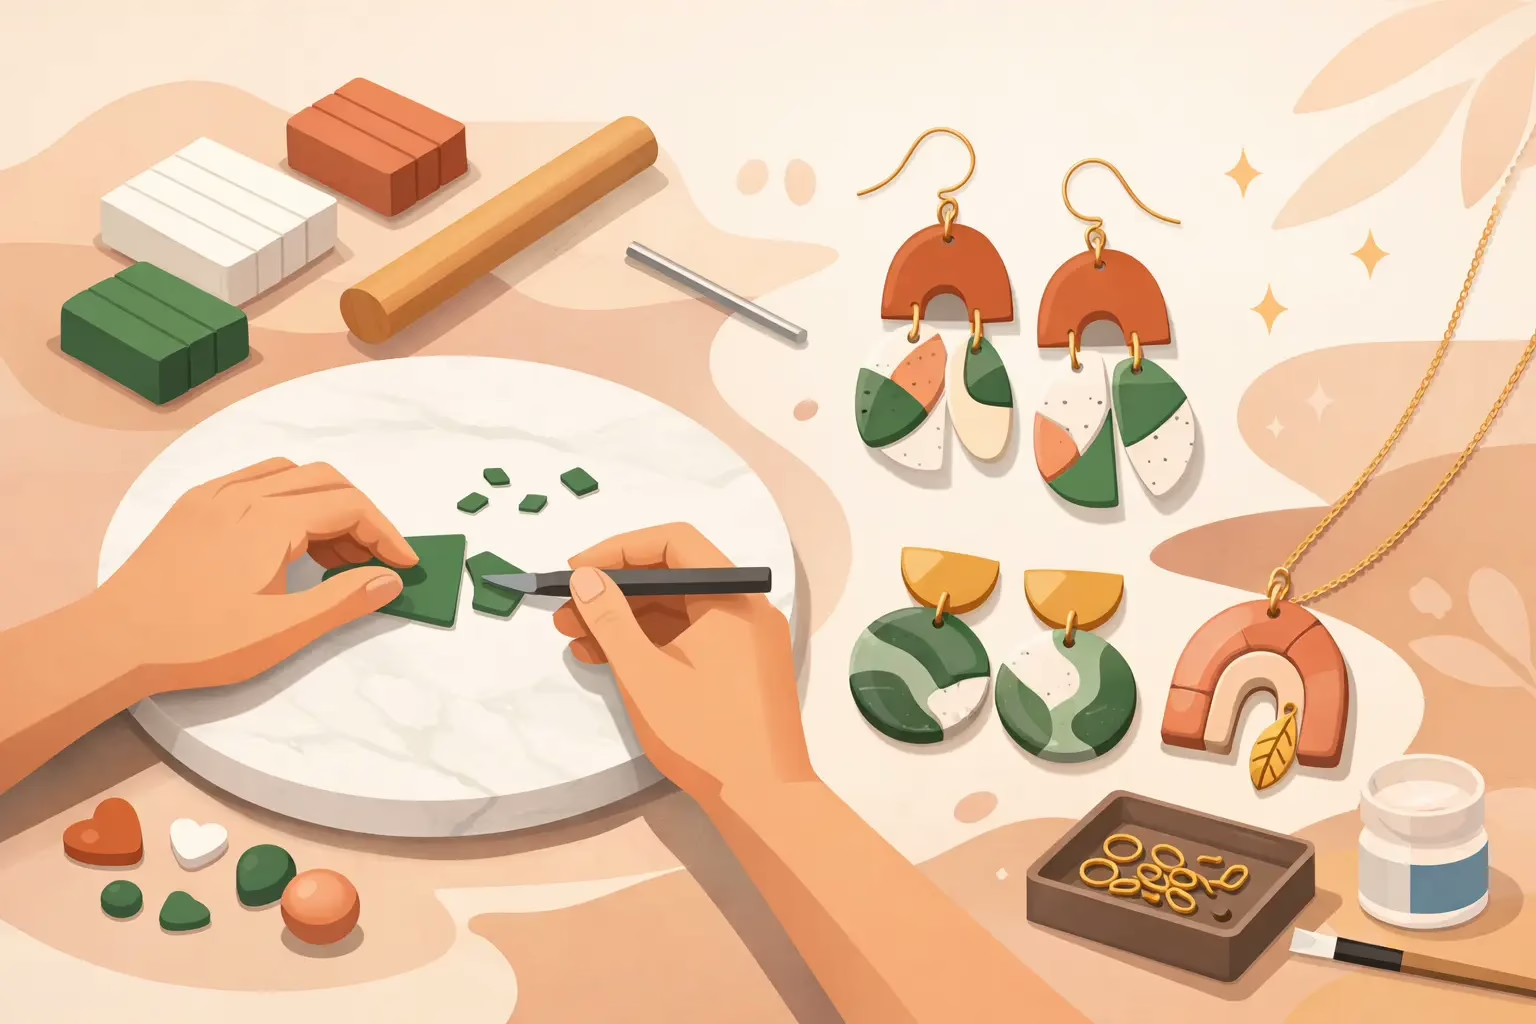
Roll and shape your design
Once the clay is smooth, roll it to an even thickness. For earrings, many makers prefer a thinner sheet so the piece stays lightweight. For pendants or charms, you may want a little more thickness for durability.
Cut your shapes with cutters or use a blade to create freeform styles. This is where your personality shows up. You can go clean and modern with simple circles and half-moons, or lean playful with marbled colors, tiny florals, terrazzo speckles, or textured patterns.
If your design has layers, press them together firmly so they bond during baking. If you are making dangles, create your holes before baking while the clay is still soft. Make sure holes are large enough for jump rings after curing.
Bake with care
Baking is the step that makes many beginners nervous, but it is very manageable if you follow the package directions for your clay brand. Temperature matters. Underbaked clay can snap more easily, while overheated clay can discolor or burn.
Place your pieces on parchment paper or a ceramic tile and bake according to the recommended time and temperature. An oven thermometer is worth having because many home ovens run hotter or cooler than the dial suggests.
It can be tempting to pull pieces out early, especially if they look done, but polymer clay needs enough time to cure properly. A longer bake at the correct temperature is usually better than a rushed one.
Sand, drill, and finish
After the clay cools completely, check the edges. A little sanding can take a piece from cute to polished. If you forgot to make holes before baking, you can drill them carefully afterward.
Some designs look lovely with a natural matte finish. Others benefit from a buffed surface, a touch of gloss, or a resin coat for extra shine. It depends on the look you want. Gloss can make colors pop, but matte often feels more artisanal and modern.
Assemble the jewelry
This is where your shapes become wearable art. Attach jump rings, earring hooks, posts, necklace chains, or cords using jewelry pliers. Make sure each connection is secure and balanced.
For stud earrings, many makers glue metal posts to the back with a strong adhesive made for jewelry. For dangle earrings, test the movement and weight before calling them finished. Beautiful jewelry should still feel comfortable.
Design tips that make handmade pieces feel special
When people first learn how to make polymer clay jewelry, they often focus only on technique. Technique matters, but design is what gives your pieces heart.
Color is a great place to begin. If you want a soft boho feel, think warm neutrals, terracotta, sage, blush, and cream. If you love statement jewelry, try saturated tones, bold black-and-white contrast, or playful seasonal palettes. You do not need ten colors in one piece. Often two or three shades create a stronger result.
Texture also changes everything. You can press lace, fabric, stamps, or natural materials into the clay to create subtle detail. Just remember that too much texture on a very small piece can look busy. Sometimes a smooth shape with one interesting accent feels more wearable.
Scale matters too. Oversized earrings can be gorgeous, but they should not be heavy. If you want a larger look, keep the clay thin and use open shapes or layered components to reduce weight.
Common problems and how to avoid them
A few beginner frustrations come up again and again, and most are fixable.
If your jewelry cracks, the clay may not have been conditioned well enough, or it may have been underbaked. If the surface collects lint and fingerprints, your workspace or hands may need a quick wipe between steps. White and light-colored clay show everything, so extra care helps.
If pieces burn, your oven may run hot. Tent the jewelry loosely with foil or lower it to the center rack. If your earrings feel flimsy, increase the thickness slightly or adjust the design so delicate connectors are not carrying too much strain.
There is also the issue of perfection. Handmade jewelry should feel thoughtful, not factory-flat. Clean edges and secure assembly matter, but tiny variations are part of the charm. They remind people a real person made this with care.
Best beginner projects for polymer clay jewelry
If you are not sure where to start, begin with simple pieces that teach you the material without asking too much all at once.
Stud earrings are great for learning shape, baking, and finishing. Simple dangle earrings teach balance and assembly. Small pendants help you experiment with marbling, stamping, and layered designs. Charm bracelets can be fun too, especially if you enjoy tiny details and playful themes.
The easiest first win for many makers is a pair of geometric dangle earrings. They look polished, they do not require advanced sculpting, and they leave plenty of room for color and texture.
How to make polymer clay jewelry people want to wear
There is a difference between making something cute and making something wearable. The second takes a little more thought.
Ask yourself whether the piece feels comfortable, balanced, and easy to style. Earrings should not pull too much on the ear. Necklace pendants should sit nicely rather than flipping awkwardly. Bracelet charms should not have rough edges that catch on clothing.
It also helps to think in collections instead of one-offs. A mini series built around the same color palette or shape family often looks more intentional. That is part of what gives handmade jewelry a boutique feel. It tells a visual story.
At Scott Jewelry Design, that handmade story is part of the beauty. Jewelry is not just decoration. It is a small way to wear your personality, your mood, and your creativity.
Caring for your finished polymer clay jewelry
Once your piece is done, care matters. Polymer clay jewelry is durable, but it is still handmade and deserves gentle treatment.
Store pieces flat or in a jewelry box to avoid scratches. Keep them away from harsh chemicals, perfumes, and prolonged heat. Clean them with a soft, slightly damp cloth if needed. If metal findings are part of the design, drying them well after cleaning helps preserve the finish.
The more lovingly you make and care for your jewelry, the longer it stays beautiful.
The best part of learning this craft is that your first pieces do not have to be perfect to be meaningful. Start with one color palette, one simple shape, and one idea that feels like you. From there, your hands will learn, your eye will sharpen, and each new piece will carry a little more confidence.