A beautiful clay earring can look finished the moment it comes out of the oven, but curing is what gives it the strength to become an everyday favorite. This clay curing guide is for makers who want their handmade polymer clay jewelry to feel as lovely and durable as it looks, whether you are creating a colorful pair for yourself or a thoughtful gift for someone special.
Curing is more than simply baking clay until it feels hard. The right time and temperature help polymer clay become properly fused all the way through. That means fewer snapped earring posts, fewer brittle edges, and more confidence when you turn a tiny handmade design into a piece of wearable art.
What Curing Actually Does to Polymer Clay
Polymer clay does not dry like air-dry clay. It needs steady oven heat to cure. During that process, the clay’s plasticizers and particles bond together, creating a flexible, durable finish. A piece can feel firm on the outside while still being undercured in the center, especially if it is thick, layered, or shaped with texture.
Undercured clay is one of the most common reasons handmade jewelry breaks too easily. It may bend and crack at a thin area, split where an earring post is attached, or crumble when a jump ring is added. On the other hand, excessive heat can darken pale colors, scorch edges, or leave an unpleasant smell. The goal is not the hottest oven. It is accurate, even heat for the full recommended time.
Every brand has its own instructions, so let the package be your starting point. Many polymer clays cure around 265°F to 275°F, but always follow the temperature and timing printed on the clay you are using. Different formulas can behave differently, and mixing brands may require extra care.
Clay Curing Guide: Temperature, Time, and Thickness
For most polymer clay jewelry, the key rule is simple: cure at the manufacturer’s recommended temperature for the recommended time based on your piece’s thickness. A thin earring cutter shape may need less time than a chunky pendant, but do not assume a thin piece can be rushed. Even delicate designs deserve enough time in the oven to cure thoroughly.
Thickness matters more than the overall width of a piece. A wide, flat arch earring may cure quickly if it is thin, while a small bead with a thick center needs more time. If you have layered clay, sculptural details, or a raised centerpiece, base your timing on the thickest section.
An oven thermometer is one of the kindest tools you can give your clay work. Home ovens are often inaccurate, sometimes by enough degrees to affect your results. Set a small oven thermometer near your baking surface, preheat fully, and check that the temperature is holding steady before your jewelry goes in. This one small habit can save hours of design time and many favorite color palettes.
If you are uncertain about a new clay brand, oven, or technique, make a few small test pieces first. Use the same thickness as your planned jewelry, cure them, allow them to cool completely, then gently flex or test them. Testing may not feel glamorous, but it is part of the handmade process. It helps you learn what your materials need before you use your prettiest floral slab or carefully mixed custom color.
Prepare Jewelry Pieces for the Oven
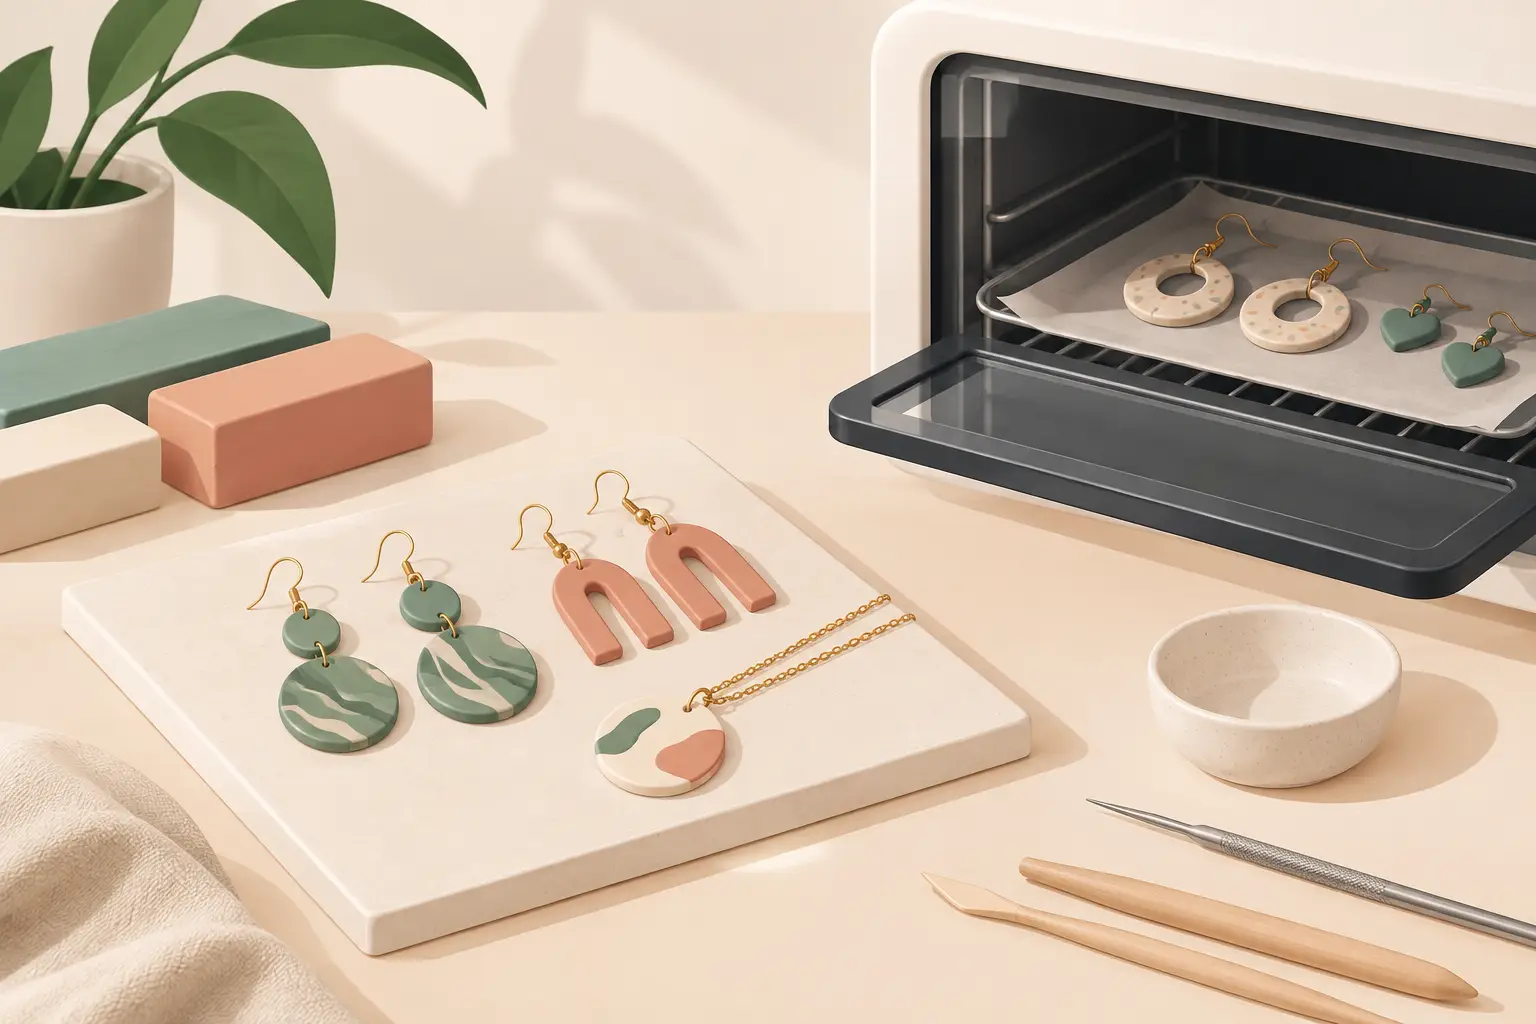
A smooth baking surface helps preserve the finish you worked hard to create. Ceramic tiles, oven-safe glass, metal baking sheets, or parchment-lined pans are common choices. Many makers like ceramic tile because it heats evenly and lets pieces stay flat. Parchment paper can reduce shiny spots on the back of clay, while a sheet of plain paper or a piece of cardstock can help protect the surface from direct contact.
Place earrings with enough space between them that they are not touching. If you are baking curved forms, use a support that holds their shape without pressing deep marks into the clay. A gentle curve created before baking can add lovely dimension to hoops or arches, but the piece needs stable support to keep that shape in the oven.
For beads, a baking rack or a foil-supported setup can keep holes clear. For earrings that will receive posts after curing, it is often easier to bake the clay first and attach hardware later with a strong adhesive. Some makers embed findings before baking, and that can work well when the findings are oven-safe and positioned securely. The best choice depends on your design and the hardware you trust.
To reduce browning, tent your pieces loosely with aluminum foil or cover them with an oven-safe pan. The cover should not touch the clay. Think of it as a little protective roof that softens direct heat while still allowing the clay to cure.
A Simple Baking Routine That Reduces Surprises
A calm, repeatable routine makes curing feel much less mysterious. Before each bake, check these essentials:
- Confirm the clay brand’s recommended temperature and time.
- Preheat the oven and verify the temperature with an oven thermometer.
- Arrange pieces on a protected, level baking surface.
- Cover pieces loosely if your oven tends to brown clay.
- Set a timer and avoid opening the oven repeatedly.
A dedicated toaster oven can be convenient for a jewelry workspace, but it still needs an oven thermometer. A regular kitchen oven works beautifully too. Whatever you use, never cure polymer clay in a microwave, and avoid using equipment that cannot maintain a reliable low temperature.
Ventilation is wise, particularly if a piece accidentally overheats. Properly cured polymer clay should not produce heavy smoke or a harsh odor. If you notice burning, turn off the oven, ventilate the area, and let everything cool before assessing the piece. Safety and comfort always come before saving a single pair of earrings.
Let Clay Cool Before You Judge It
Fresh-from-the-oven clay can feel softer than expected. That does not automatically mean it failed. Polymer clay firms as it cools, so give your pieces time to rest fully before testing them, sanding edges, adding hardware, or making a final judgment.
Cooling on the tile or baking surface is usually the gentlest choice. Moving hot clay too soon can warp flat pieces or leave fingerprints in delicate details. Once cool, inspect your jewelry in good light. Look for clean edges, even color, and a strong but slightly flexible feel in thin areas. Properly cured polymer clay jewelry should not be stiff like glass. A little flexibility is often a sign that the clay cured well rather than becoming brittle.
If a piece seems undercured, it can often be baked again at the proper temperature. Longer curing at the correct temperature is generally safer than raising the heat. This is especially helpful for thicker designs, as long as the clay is protected from browning and the manufacturer’s guidance allows it.
Finishing Starts After the Cure
Once your pieces are cool, the creative finishing touches can begin. Sand rough edges with fine-grit sandpaper, drill holes slowly if needed, and use quality findings that match the care you put into the clay itself. Add earring posts, hooks, jump rings, tassels, or beads in ways that support the design instead of weighing it down.
Not every clay piece needs a glossy finish. Matte clay can feel soft, modern, and wonderfully artistic, especially in earthy boho colors or patterned statement earrings. If you want a shine, choose a finish made for polymer clay and test it first on a sample. Some coatings react poorly with certain clays or remain tacky over time, so a small experiment is always worth it.
At Scott Jewelry Design, we love the little details that make handmade accessories feel personal. A carefully cured pair of clay earrings holds more than color and shape. It carries your patience, your imagination, and the joy of making something no one else could create exactly the same way.
The next time you fill your oven tray with tiny arches, marbled hearts, or cheerful flower studs, give the curing step the same attention you gave the design. That quiet bit of care is what helps your handmade jewelry stay ready for compliments, celebrations, and ordinary days that deserve a little more color.