Some polymer clay projects look effortless right up until the moment your earrings crack in the oven, your shapes come out uneven, or your beautiful colors turn muddy. That is exactly why good polymer clay jewelry tutorials matter. A clear tutorial does more than show a pretty finished piece – it helps you understand how to shape, bake, assemble, and finish jewelry so it feels polished, wearable, and truly handmade.
If you are new to polymer clay, the good news is that you do not need a huge studio or years of experience to make something beautiful. A small workspace, a few reliable tools, and a little patience can take you surprisingly far. And if you already love handmade accessories, learning these techniques adds an even deeper appreciation for the artistry behind every pair of earrings or statement pendant.
Why polymer clay jewelry tutorials are worth following
Polymer clay is wonderfully forgiving, but it still has its own personality. It can collect lint, shift shape when handled too much, or bake differently depending on thickness and brand. Tutorials help shorten that learning curve. Instead of guessing why a piece feels brittle or why a pattern blurred, you can work from techniques that have already been tested.
That said, not every tutorial should be followed word for word forever. The best ones teach a process you can personalize. Maybe you start with simple arch earrings in a soft neutral palette, then later add bold terrazzo speckles, boho textures, or layered color-blocked pieces that feel more like you. The tutorial gives you the structure. Your style gives it heart.
Start with simple polymer clay jewelry tutorials
Beginners often do best with projects that keep the focus on foundational skills. Flat geometric earrings, rounded studs, mini dangles, and basic pendant necklaces are all smart starting points. They teach you how to condition clay, cut clean edges, make holes for hardware, and bake pieces evenly without asking you to master intricate canes or highly detailed sculpting right away.
Simple does not mean boring. Some of the prettiest handmade jewelry designs come from clean shapes, balanced color choices, and thoughtful finishing. A crescent earring in terracotta, blush, or cream can look just as special as a more complex design when the surface is smooth and the assembly is neat.
What you need before you begin
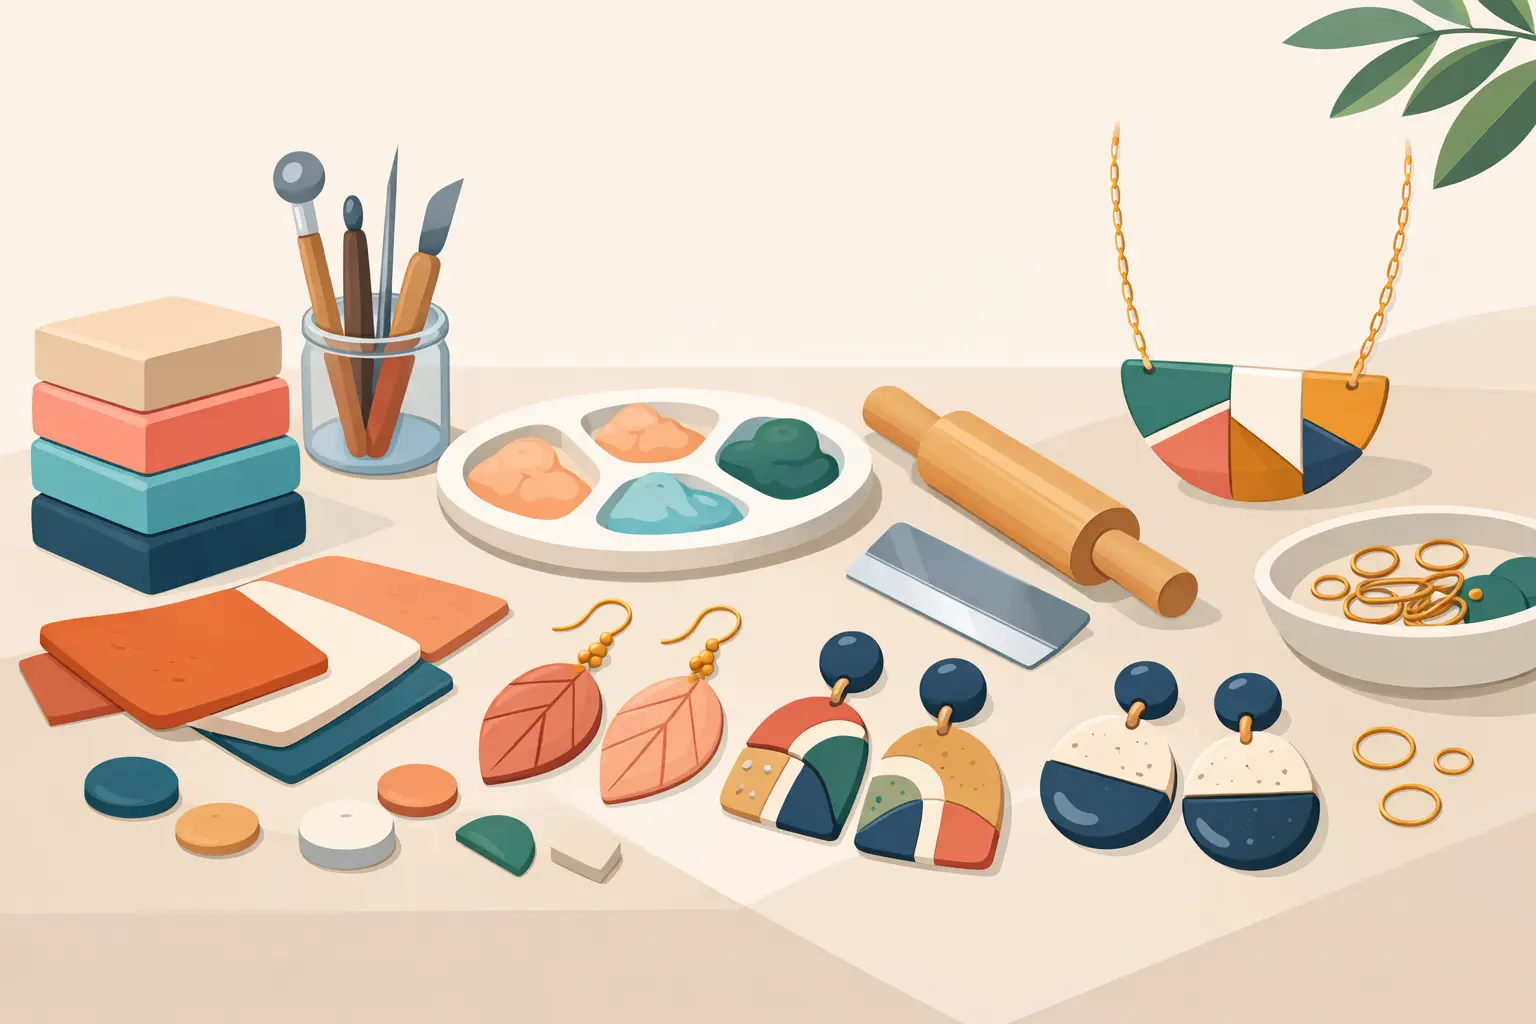
You can make lovely jewelry with a modest set of supplies. Polymer clay, a smooth work surface, a roller, shape cutters or a craft blade, a needle tool, and basic jewelry findings will cover a lot of beginner projects. You will also want an oven-safe tile or tray and a way to gently sand or buff edges after baking.
A pasta machine can help create consistent thickness, but it is not required at the beginning. The same goes for specialty cutters and texture mats. They are fun, and they can speed up certain looks, but they are extras, not essentials.
Where beginners sometimes struggle is buying too much too fast. More colors and more tools can feel inspiring, but they can also make the process overwhelming. It is usually better to begin with a few colors you truly love and learn how they behave. Once you understand shaping and baking, expanding your collection feels much more natural.
The process behind beautiful results
Conditioning the clay is one of the most skipped steps in beginner projects, and it shows. Well-conditioned clay is smoother, easier to shape, and less likely to crack. This usually means kneading and rolling it until it feels pliable and even. If a tutorial rushes past this part, expect frustration later.
After conditioning, thickness matters. Pieces that are too thin may feel delicate or snap more easily, especially for larger earrings. Pieces that are too thick can look clunky or bake unevenly. The sweet spot depends on the design. Studs can handle more thickness than wide statement dangles, and layered pieces need balance so they do not become too heavy on the ear.
Clean handling also makes a visible difference. Polymer clay picks up fingerprints, dust, and lint with almost no effort. Washing your hands, wiping your surface, and working carefully between colors saves a lot of cleanup later. It sounds small, but it is often the difference between a homemade look and a handcrafted one.
Baking is where many tutorials succeed or fail
A jewelry piece can be shaped beautifully and still disappoint if it is underbaked, scorched, or warped. The truth is, baking polymer clay is not one-size-fits-all. Brand, thickness, and oven accuracy all matter. That is why a trustworthy tutorial should encourage you to check the clay package instructions and use an oven thermometer when possible.
Underbaking often leads to weakness and breakage. Overbaking can deepen colors too much or cause browning. A tent of foil over delicate pieces can help protect them, especially with lighter shades. Flat pieces should bake on a smooth, level surface to reduce distortion.
If your first batch is not perfect, that does not mean you are bad at this. It usually means your oven or your timing needs adjusting. Polymer clay rewards observation. Each attempt teaches you something useful.
Finishing turns a craft project into jewelry
This is the stage that gives handmade pieces their boutique feel. Once baked and cooled, edges can be lightly sanded if needed. Hardware should be attached securely, jump rings should be fully closed, and earring backs should feel stable. If a piece has rough edges or loose assembly, even a great design can feel unfinished.
Some makers like a glossy finish, while others prefer the soft, modern look of bare clay or a buffed matte surface. Neither is automatically better. It depends on the style you are creating. A playful fruit charm might look lovely with shine, while an earthy boho earring may feel more natural with a smooth matte finish.
This is also where comfort matters. Oversized polymer clay earrings can still be lightweight, but only if each layer and component is designed thoughtfully. A tutorial that looks beautiful in photos may not feel great for all-day wear if the proportions are too bulky. Wearability is part of good design.
Common mistakes polymer clay jewelry tutorials can help you avoid
One of the biggest beginner mistakes is overworking the clay. The more you handle it, the softer it gets, and the more likely you are to distort your shapes. Another common issue is mixing colors too aggressively and ending up with a muddy tone instead of a crisp marbled or color-blocked effect.
Assembly mistakes are common too. Holes placed too close to the edge can crack under stress. Findings that are too large can overpower delicate designs. And if pieces are not planned with movement in mind, dangles can hang at awkward angles.
These are not reasons to feel intimidated. They are simply part of the learning curve. Good tutorials help you spot these small decisions before they become frustrating problems.
Finding your own style through tutorials
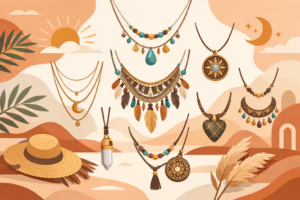
The most rewarding part of making handmade jewelry is the moment your pieces begin to feel unmistakably yours. Maybe you love sun-washed desert tones, ocean-inspired blues, floral details, or bold black-and-white contrast. Tutorials can teach the technique, but your palette, textures, and silhouettes tell the story.
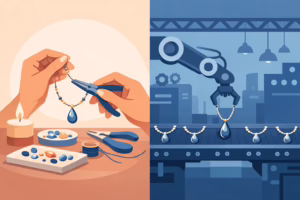
This is especially true if you are making jewelry as gifts or creating pieces for a small shop. People connect with designs that feel personal. A handmade pair of earrings carries more than shape and color – it carries intention. That is part of what makes artisan jewelry so meaningful, whether you are wearing it yourself or giving it to someone you love.
At Scott Jewelry Design, that spirit of handmade creativity is at the heart of why tutorials matter. They do not just teach a method. They invite more people into the joy of making something expressive, wearable, and full of personality.
When to follow the tutorial closely and when to improvise
If you are learning a new technique like marbling, layering, or adding texture, it is smart to follow the steps closely the first time. That helps you understand the order of operations and notice where precision matters most. Once you are comfortable, that is the perfect moment to swap colors, resize shapes, or combine ideas from different projects.
Improvising too early can lead to confusion, especially if you are not sure whether a problem came from the clay, the bake, or the assembly. But staying rigid forever can flatten your creativity. The sweet spot is learning the rules well enough that you can bend them with confidence.
That is also how many signature jewelry styles are born. A maker starts with a tutorial, tweaks one detail, then another, and before long the work has its own look and energy.
If you have been curious about polymer clay jewelry tutorials, start small and let yourself enjoy the process. Your first pair does not need to be perfect to be beautiful. Sometimes the most meaningful handmade pieces are the ones that show you exactly where your creativity wants to go next.